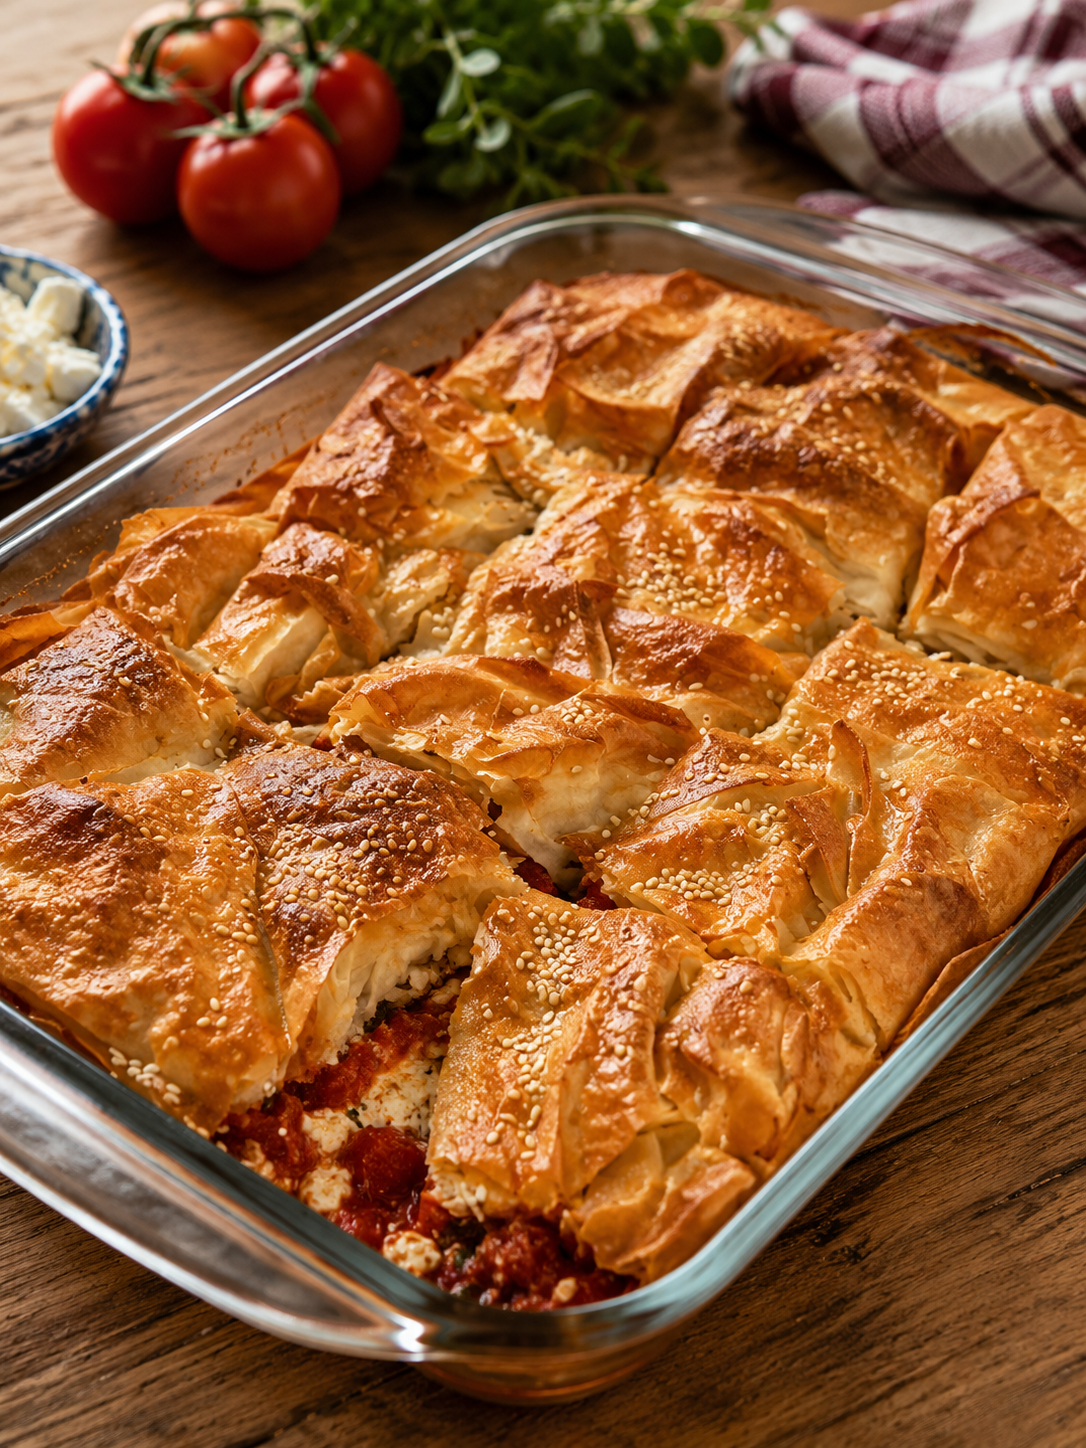
How this dish came to life
Cultural significance
Village pies (*horiatikes pites*) are one of the great traditions of Greek home cooking — a whole category of dishes built around what the season and the garden made possible. Domatopita is the high-summer pie, from the weeks in July and August when tomatoes ripen faster than a family can eat them. It sits alongside spanakopita (spinach), tyropita (cheese), prasopita (leek), and hortopita (wild greens) as one of the pillars of the Greek pie table. Made with rustic hand-rolled phyllo (not the paper-thin commercial sheets), the pie is dense with filling, generous with feta, and always cut into big, unapologetic squares.
step by step
Instructions
- 1
Preheat the oven to 180°C (350°F), top and bottom heat.
- 2
Heat a generous glug of olive oil in a wide deep pan over medium-high heat. Add the chopped onions and stir for 2–3 minutes until they soften. Add the cubed tomatoes and cook, stirring occasionally, for about 20 minutes, or until most of the liquid has evaporated and the tomatoes are jammy and thick. This is the single most important step — patience here is what stops the pie from going soggy.
- 3
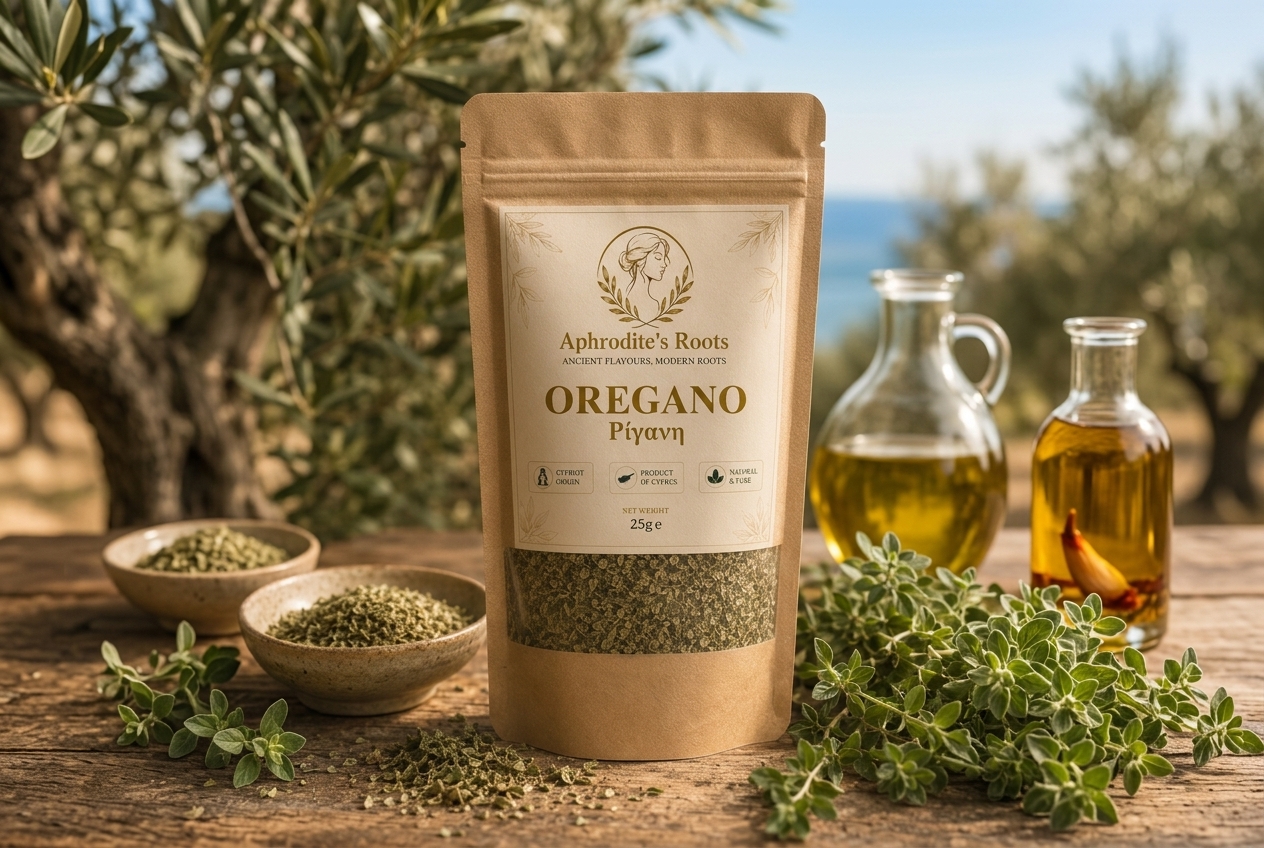
Take the pan off the heat and let the mixture cool for 5 minutes. Then stir in the semolina — it will drink up whatever moisture is left and thicken the filling — along with the oregano, dried basil, sugar, parsley, dried mint, and the crumbled feta. Season with salt (go gently — the feta is salty) and plenty of black pepper. Mix well and taste.
- 4
Grease a large rectangular baking tray (roughly 30 x 40 cm) generously with olive oil.
- 5
Now build the parcel. Lay one phyllo sheet horizontally across the tray so it hangs over the long edges. Lay a second sheet vertically over it to form a cross — the corners should hang over all four sides of the tray. Brush both with olive oil.
- 6
Lay three more sheets diagonally across the tray, one at a time, brushing each with olive oil as you go. The corners of these sheets will fan out at 45° angles, giving you plenty of overhang all the way around.
- 7
Now lay the sixth sheet flat on top of everything, sitting inside the tray (not draped over the edges). Brush it with olive oil. This becomes the immediate base for the filling.
- 8
Spread the tomato-feta filling evenly across the phyllo base, right into the corners of the tray, pressing it down gently so it forms an even layer.
- 9
Fold the overhanging pastry sheets in over the filling — one at a time, brushing each with a little more olive oil as you fold — so they pleat and crinkle naturally on top like a shaggy rustic parcel.
- 10
Lay the seventh (final) sheet flat over the whole top, brushing it with olive oil and tucking any loose edges in around the sides.
- 11
Brush the entire surface generously with olive oil, sprinkle with sesame seeds, and — with a sharp knife — lightly score the top through the phyllo layers into portions (roughly 8 or 12 squares). Scoring now stops the top from cracking randomly as it bakes.
- 12
Bake for 90 minutes, until the top is deeply golden brown, crisp, and blistered, and the sides are pulling away from the tray.
- 13
Let the pie rest for at least 15 minutes before cutting through the scored lines. This is essential — cut it too early and the filling will run. Serve warm, or at room temperature the way the Greeks do.
tips from the village —
Wisdom from grandmothers
- 01Use rustic *horiatiko* phyllo if you can find it. It's thicker and more forgiving than commercial phyllo — it gives you that crackly, deeply-crisp, shaggy texture that this pie needs. If all you have is thin commercial phyllo, double up the sheets and brush oil between every one.
- 02Cook the tomatoes down until dry. Really dry. If there's liquid pooling in the pan, keep going — a wet filling is the number one reason tomato pies fail. The semolina helps, but it can't rescue a soupy mess.
- 03The teaspoon of sugar isn't optional. Tomatoes lose sweetness when they reduce and gain acidity. A pinch of sugar brings the balance back — you won't taste it as sweetness, only as roundness.
- 04Salt with feta in mind. Feta is aggressively salty; you probably need far less salt than you think. Taste before you add.
- 05Let the filling cool before it hits the phyllo. Hot filling on cold phyllo tears the pastry and turns the bottom soggy.
- 06Brush every phyllo layer with olive oil. Every single one. This is how you get the flaky, shattering top and bottom that make this pie worth making.
- 07Score before baking. Cutting through hot baked phyllo shatters the top; scoring beforehand gives you clean edges and beautiful portions.
- 08Rest before slicing. Fifteen minutes minimum. The filling firms as it cools and the layers set.
- 09Even better the next day. Cold domatopita, sliced into a lunchbox with a wedge of feta and a couple of olives, is one of the great small pleasures of a Greek summer.
Related recipes
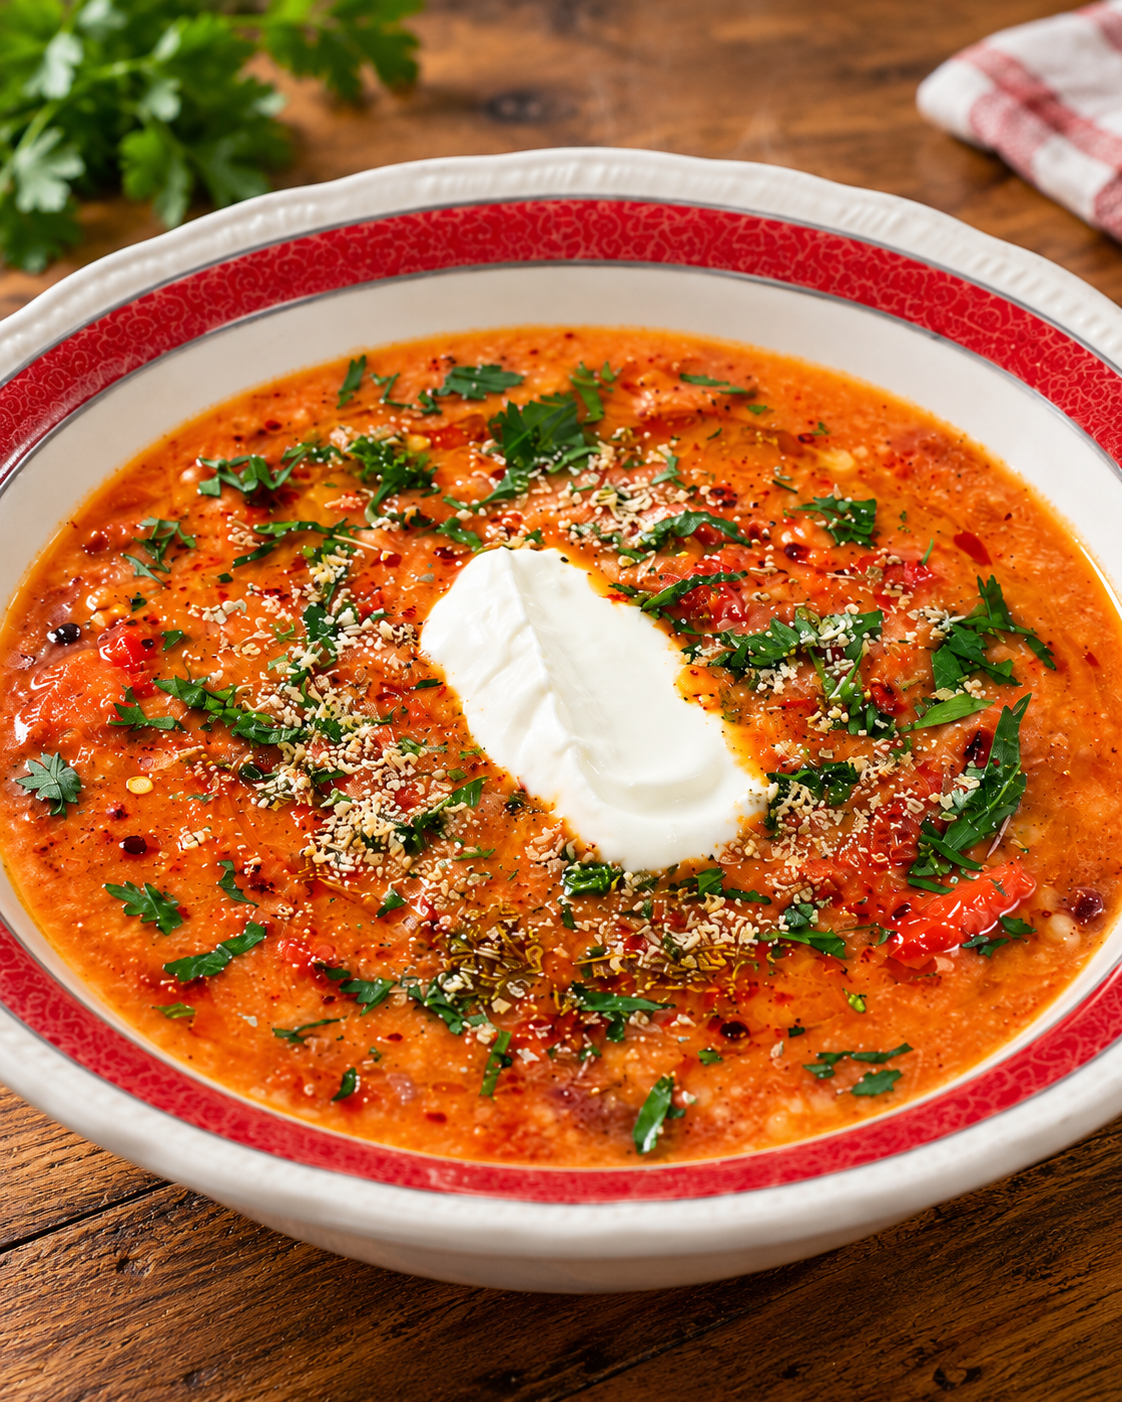
Kokkinistos Trahanas with Yogurt
Sour trahana simmered in a spicy tomato broth until creamy, served with cool Greek yogurt, boukovo and wild oregano — one humble food, countless traditions.
Read the story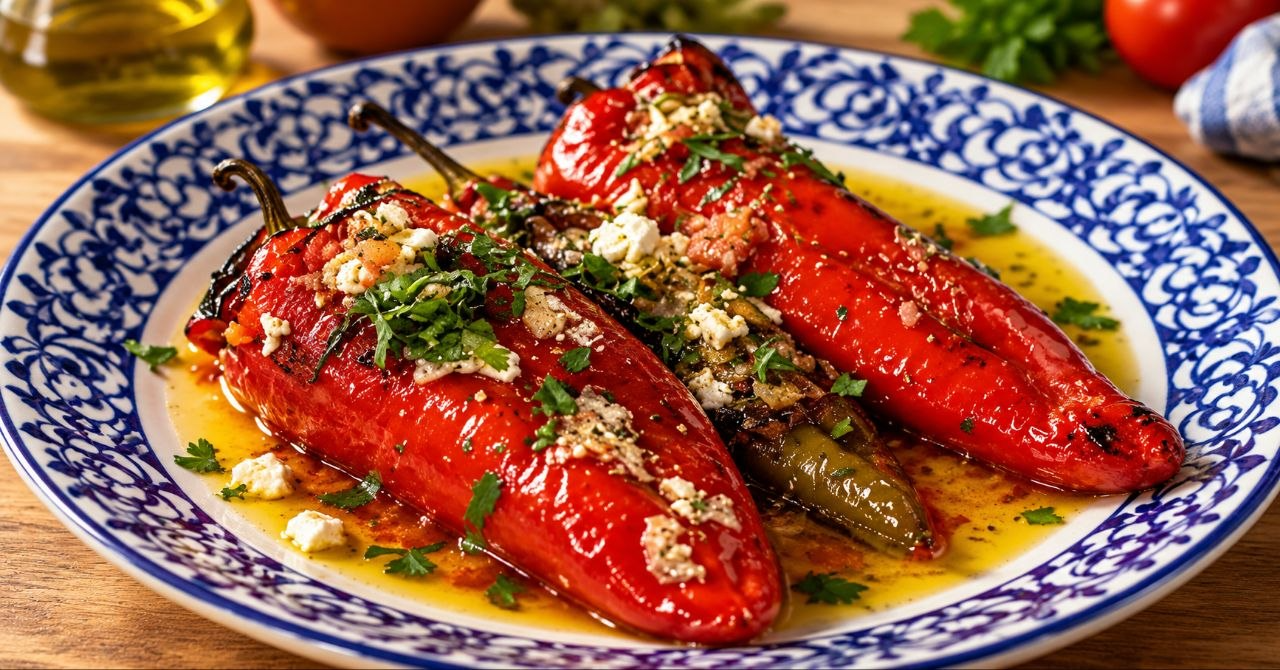
Stuffed Horn Peppers
Horn peppers stuffed with feta, tomato, garlic and wild oregano, baked until soft and caramelised — an American ingredient that became a Greek kitchen staple.
Read the story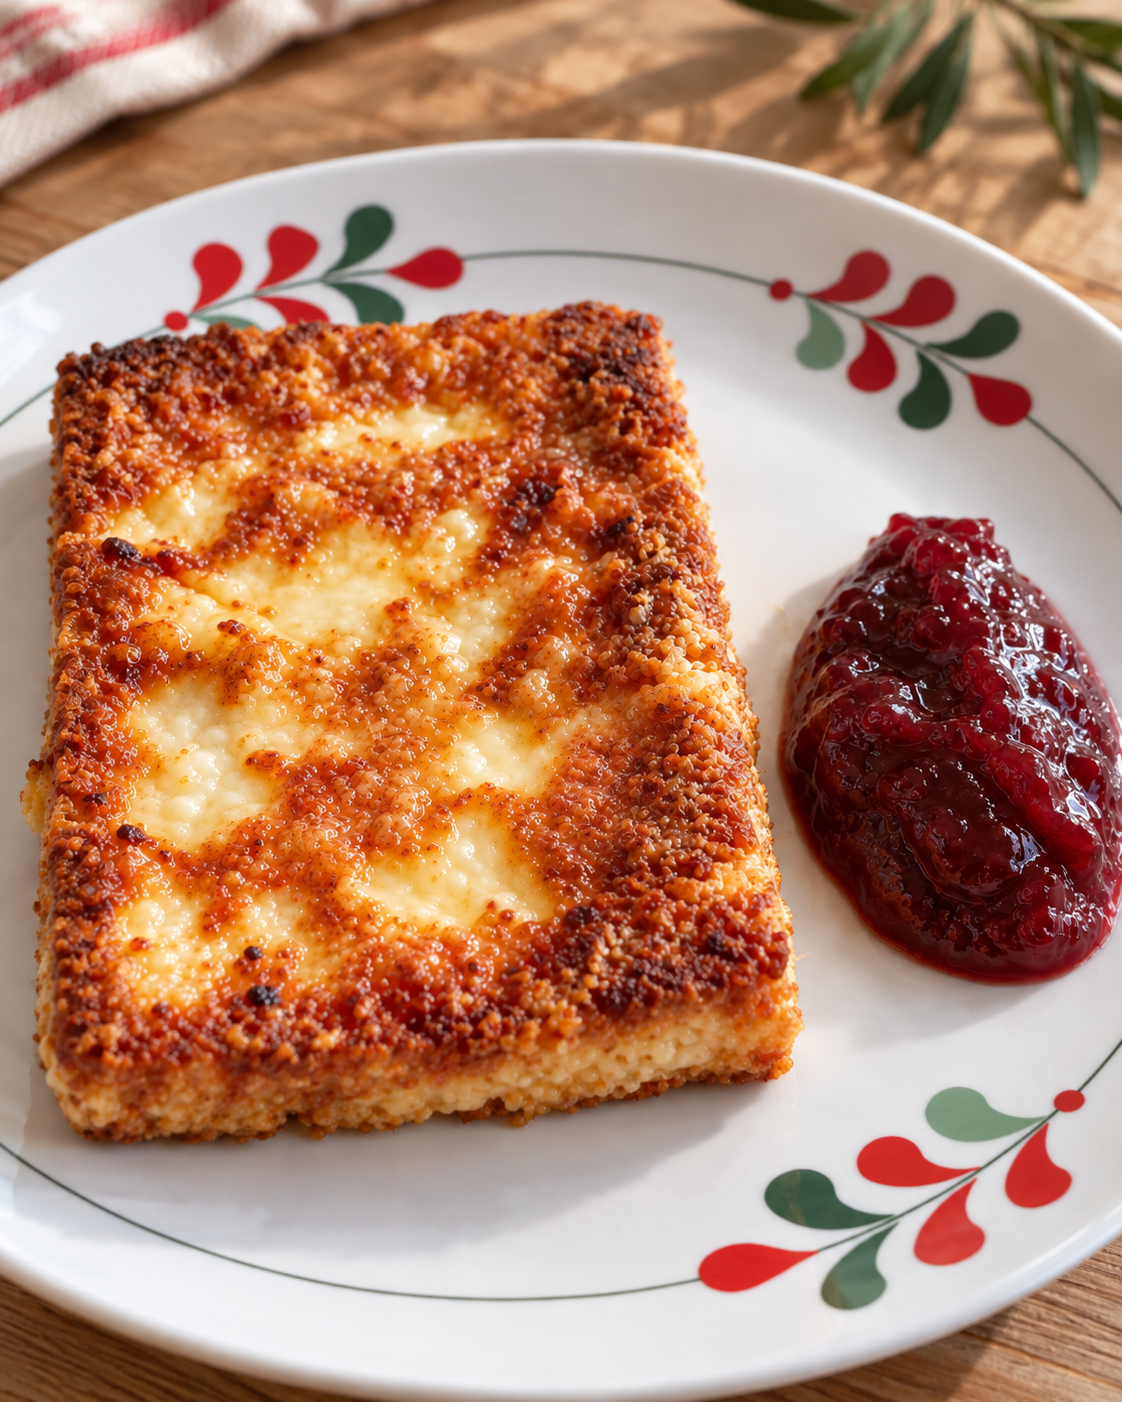
Saganaki with Grape Jam
Golden fried cheese, crisp outside and molten within, served with a slow-cooked grape jam brightened with lime — the taverna classic named after its little pan.
Read the story